

How to Take Screenshot in Windows – Simple and Easy Guide
Taking screenshot in windows is sometimes very necessary to store your current working or your information for laser use. Here we guide you how to take screenshot in Windows like professionals.
Using Windows Snipping Tool
There is built in feature/ tool available in Windows 7 and higher version called SnippingTool which is very useful for taking screenshots.
To open the SnippingTool you may type “snippingtool” in windows Run command as shown in image below:


Now press the ok button and a smart snipping tool is available on your screen.

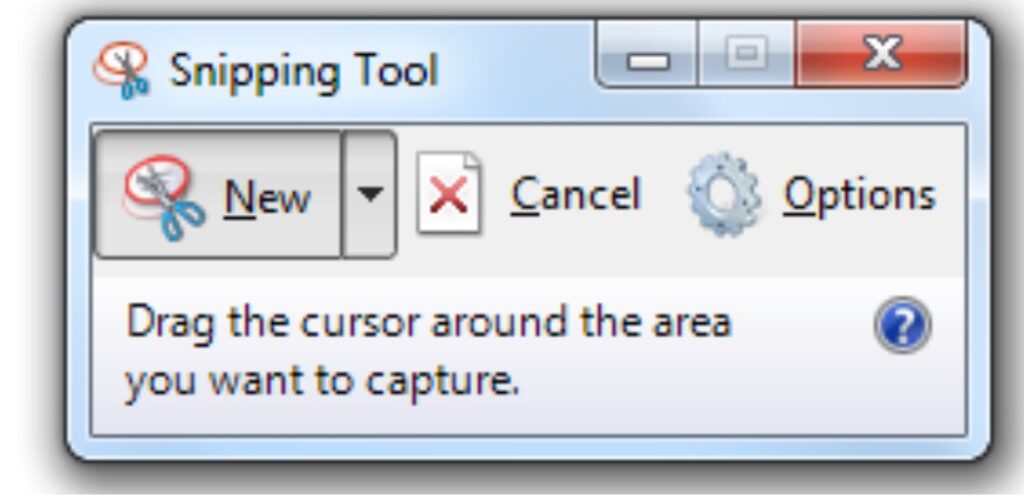
Click on new and start capturing your desired screen area or selected part of the screen. You have to simply start dragging to start the screen capture and when you finish the dragging screen is recorded and a new window is open containing your captured area. Now you can save this image as JPG or PNG or copy the image for use in another application.
Using Print Screen Button
The simplest way to take a screenshot is to press the Print Screen key on your keyboard, which is usually (but depending on the model of keyboard you are using) abbreviated as PrtSc/Print Screen. This will save what’s displayed on your PC screen inside the clipboard. If you’re using a laptop, you may need to press Fn + PrtSc/Print Screen to get the same result.

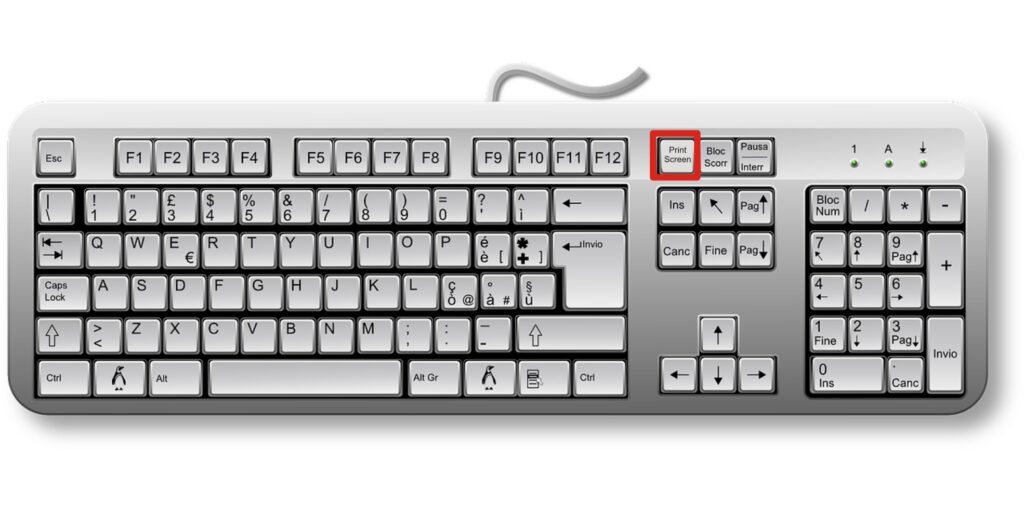
Now you have to paste it into an app like Paint on an image editor of your choice. From there you can crop and edit your screenshot according to your desire and save it after editing.